Protect Your Footwear: Tips for Flip-Flops & Sneakers
Protect Your Footwear: Tips for Flip-Flops & Sneakers Protect Your Footwear: Tips for Flip-Flops & Sneakers
Home Flip-Flops Clean cut Flip-Flops
Specialty Front Squeegee Blade for Rubber Floors (#8118001) on the Trusted Clean 'Dura 18HD' Floor Scrubber

Specialty Front Squeegee Blade for Rubber Floors (#8118001) on the Trusted Clean 'Dura 18HD' Floor Scrubber

$ 34.99

$ 0.00

Unavailable
Specialty Front Squeegee Blade for Rubber Floors (#8118001) on the Trusted Clean 'Dura 18HD' Floor Scrubber

Specialty Front Squeegee Blade for Rubber Floors (#8118001) on the Trusted Clean 'Dura 18HD' Floor Scrubber

$ 34.99

$ 0.00

Title:
  • DefaultTitle
Unavailable
Please select combo product attributes
The combo subtotal is $,SAVE$

Product Details

This specialty Trusted Clean blue polyurethane front replacement squeegee blade is made specifically to be used with the cord electric automatic floor scrubber. It is meant to be used for recovery on rubberized floors and other rough surfaces. The polyurethane material offers improved surface contact over the standard rubber squeegees ( & ) that come with the machine.

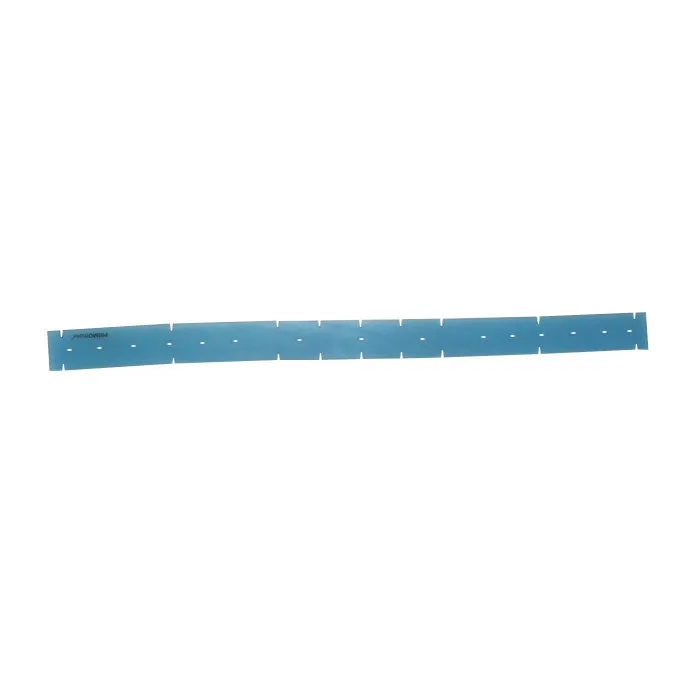
This polyurethane blade offers high cut and tear resistance, as well as high abrasion resistance, all of which make this squeegee ideal for picking up water on rubber like surfaces. The design allows for solution to flow through the slots into the vacuum chamber for it to be recovered.

The squeegee should be rotated about every 20 hours of scrubbing and should be done to the as well to recover as close to 100% of your solution as you can.

If your squeegees are streaking or not picking up like they should, even after wiping them clean and rotated them for use on every side, then it is time to replace them. We recommend keeping an extra set inside the storage compartment of the machine at all times to make sure you are maximizing your efficiency and minimizing any potential down time.

How to Rotate / Change Out Your Squeegees

  1. Loosen middle 2 wing nuts on squeegee assembly & remove the squeegee assembly from the machine.
  2. Completely remove all 4 wing nuts from the squeegee assembly.
  3. Loosen & remove rear tension bar by sliding the bracket down & removing it completely from the squeegee assembly.
  4. Remove & rotate or flip both squeegees.
  5. Reassemble & reattach.

You May Also Like

Cart
Protect Your Footwear: Tips for Flip-Flops & Sneakers
Your cart is currently empty.